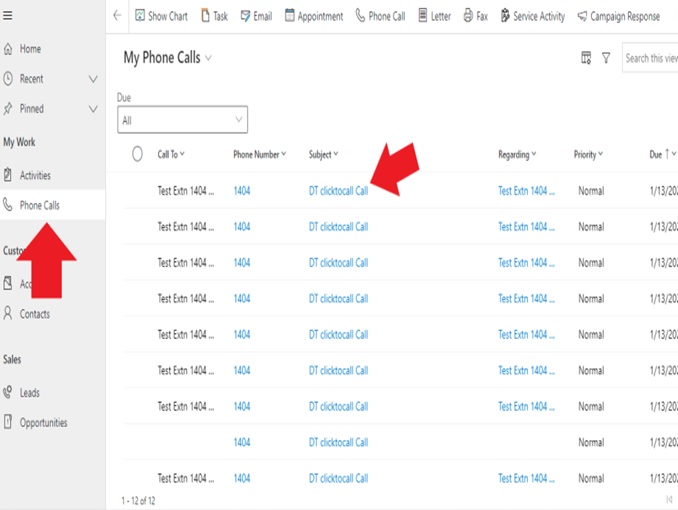
You can allow callers to your queues to hangup and instead receive a callback from an agent. You could do this when the queues are busy or out-of-hours. The callback request is presented in CRM as an open phonecall, with the callers details. Click on it to make the callback.
Feature Details
When a Caller is in a Queue they will be prompted with a queue callback feature by pressing 1.
- At the start the service will test if CRM is available.
- If unavailable – Play “I’m sorry, this feature is not available, please try again later”. Or this can fail silently.
- If available – Play Caller ID number back to the caller, then play “if you want to use this number, please dial 1 or if you want to enter a new number, please dial 2”.
- Dial 2 to enter a new number – The new number can be setup for national or international restrictions. You have 3 attempts to get a correct number following the restrictions, on the third attempt you will be disconnected. On successful entry of a new number, it will play the number entered back to the caller and ask “is this correct please dial 1”. If it is not correct the caller can dial a new number again.
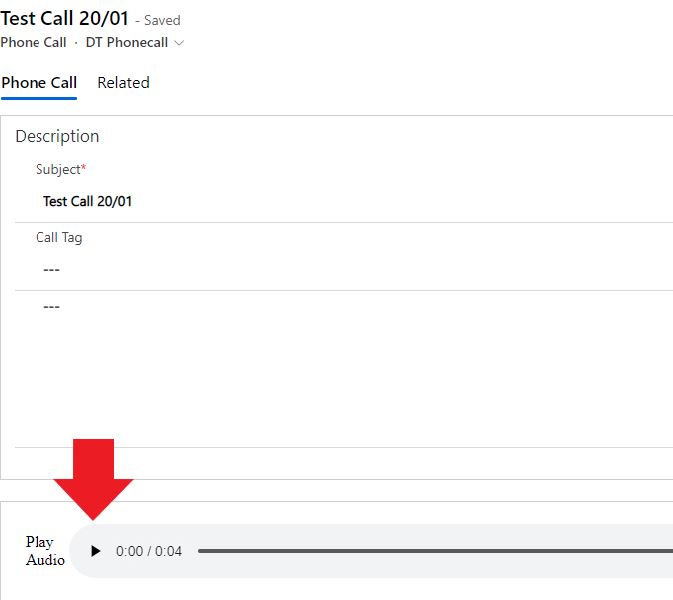
- After the caller has dialed a new number or accepted their Caller ID as the number used for a callback, they will be prompted to record their name, a short message and press pound key when they have completed.
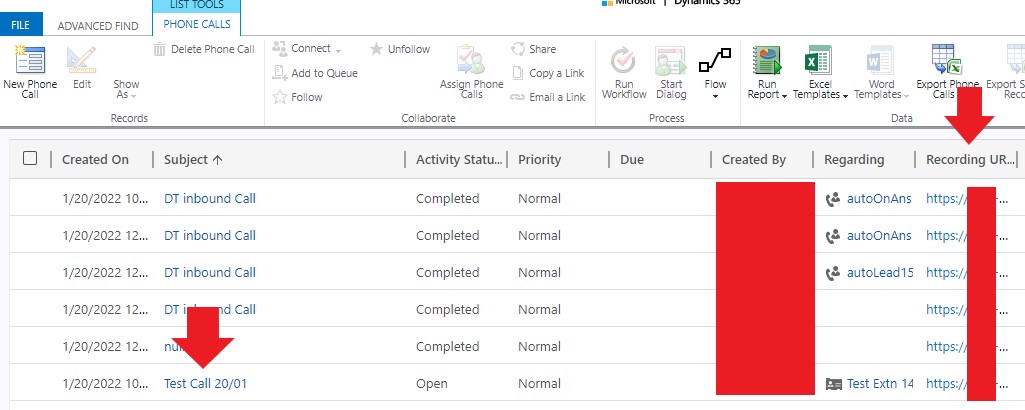
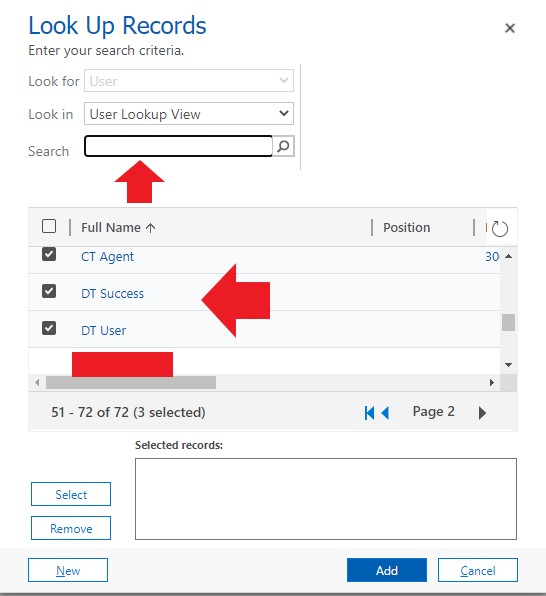
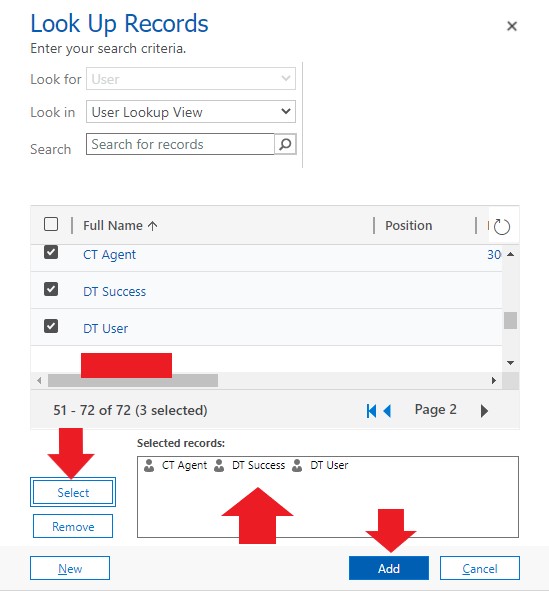
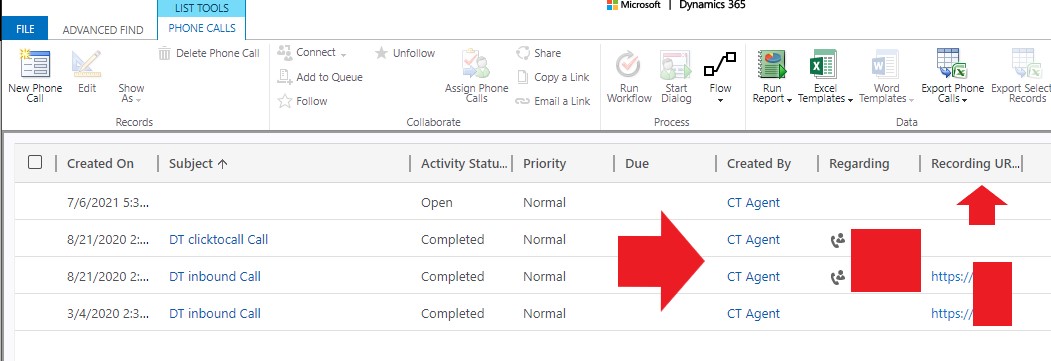
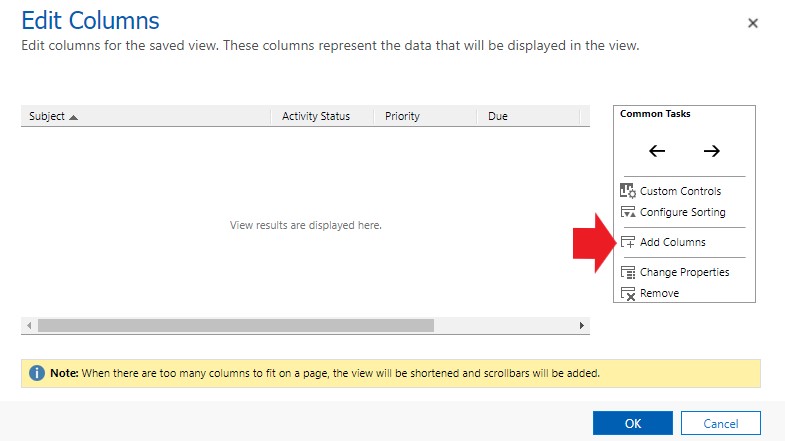
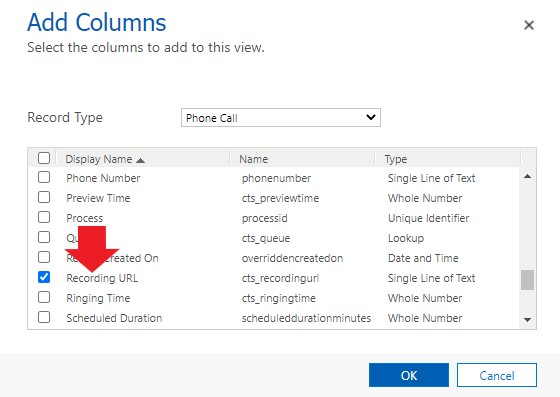
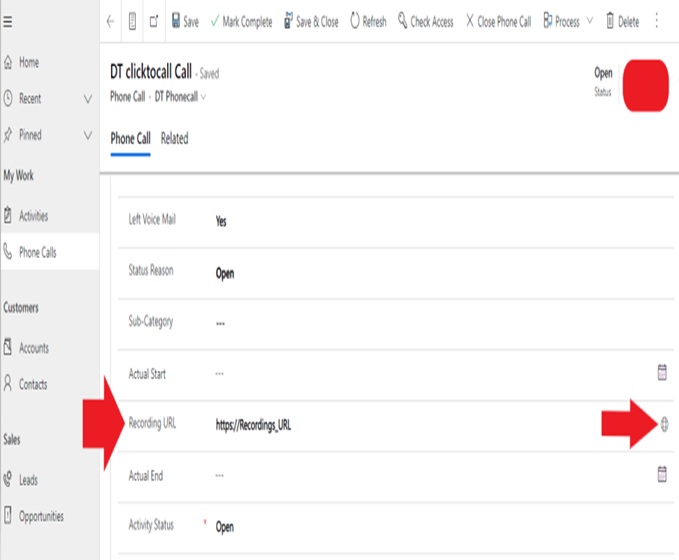
- The Queue Number (the Queue that was called), the Called Number (Company’s Number), Caller ID Number (Caller ID or updated Caller ID), Original Caller ID (Caller ID of the caller which cannot be changed), Date and Time and the recording of the caller will be sent to CRM. The phonecall record in CRM will have all the details for users to make the callbacks.
- On a successful completion of the callback feature – Play “You will be call backed when your position in line has been reached, Goodbye”
- On an unsuccessful completion – Play “I’m sorry, this feature is not available, please try again later”.
All playback features are fully customizable and new recordings can be uploaded to replace any system recordings.